How to Dutch Braid - Hairstyle


Hello there everybody!!! Can I ask y'all a question? Are you getting tired of French braids? Do you find yourself in disappointment that they don't stand out as much as you'd like (Wow this is starting to sound like a TV ad XD)? Well then I've got something for you!

I accidently stumbled upon this hairstyle some time back, and after doing it on a small doll I have, I was like, "Oh my gosh, this is fantastic! I MUST SHOW IT TO THE WORLD!!!"

I'm not even joking when I say this hairstyle is everything I ever wanted but French braids didn't give me. I literally started trying this on so many dolls, it's definitely my new favorite hairdo for my dolly buds!

And there are many ways you can do it! You can do the partial braids into ponytails like I did on Julie...

Or a single braid down the top of the head like I did here with Janet.

But today I'll be showing you how to do the two Dutch braids as we see here on the lovely Josefina.

This is my favorite version of this hairstyle, I think it just comes out so beautiful.

Plus it was super duper exciting to find a hairstyle that looks so fantastic on Josie and felt like it fit her personality very well. Her hair is absolutely gorgeous but gets a little wild if she just wears it loose. So this is a great way to keep it looking super pretty and but also knot free!

So! Are you ready to start? All prepared for the adventure ahead? Cool beans! Let's get to it then!
You will need........

*A doll
....... I mean I guess you could try doing this without a doll, but it starts getting really complicated when you don't have hair to braid, so I very highly recommend a dolly volunteer to make your job easier. Felicity will be my doll-unteer (That was bad, that was so so bad I'm so sorry XD) today since she has long hair that is easy to work with.

*A doll brush
As I've said in the past, I don't actually own or use an American Girl brand doll brush. My mom has one, but I didn't really like the way it felt as I brushed it through my doll's hair *Activates doll brush pickiness mode*. What I'll be using here is called a Paddle Looper Brush, it's made for wigs and synthetic hair and is my absolute favorite brush for my 18" dolls. If you're looking for a good doll brush option you can buy them at Sally's for $3.99. But any doll brush can be used here as long as it hasn't been brushed through human hair :)

*Hands
Hello hands, I remember your service to this blog when I did the first hairstyle many years ago, today I must call upon you again to lend your much appreciated doll hairstyling skills for this post. Thank you, I couldn't do this without you.

*Hair bands
I personally like these little tiny ones or loom band bracelet rubber bands for doll hairstyling, make sure if using these you keep lots extra though incase one breaks! It's always the worst walking around trying to find another rubber band while simultaneously keeping your dolly style from falling out.

*Spray bottle (optional)
There are many opinions on whether to mist doll hair or not, I personally like misting the hair as it makes it feel better and easier to work with in my opinion, but you do you girl! It's totally optional :D
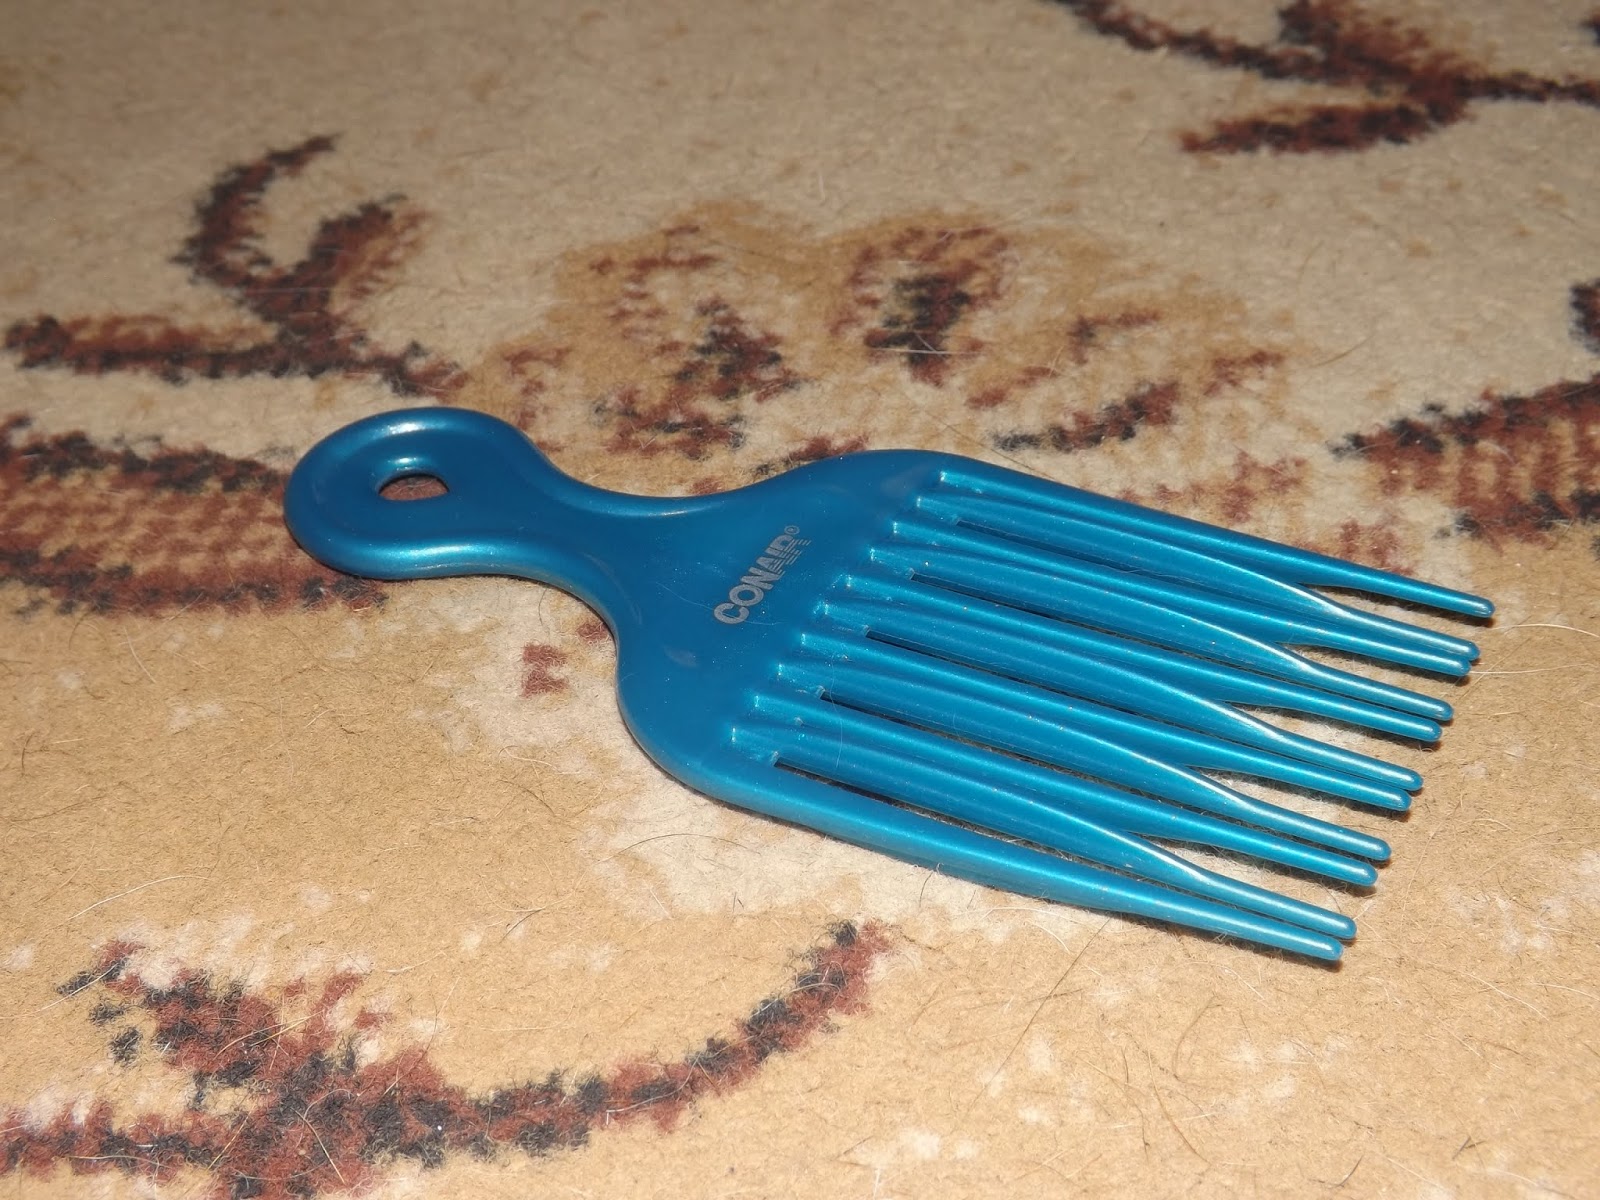
*Hair pick (Optional)
This is once again totally optional, I just like it for parting the hair and picking up new sections, if you don't use the hair pick you can just use your fingers wherever I tell you to use it.
Ok that's everything, let's get started!

Start off by brushing out your doll's hair. If you're using a spray bottle, lightly mist the hair first, then brush the hair starting at the ends and gently brush out the knots as you work your way up. And always remember when misting doll hair to cover your dolls eyes, it's the polite thing to do and will also prevent water from getting in them, which can result in rust or even silvereye.

Now that the hair is tangle free, part it down the center. I'm using my hair pick for this but once again you can just use those handy hands.

Yay! Parted hair! :D

*TIP* Don't forget your dolls have handy hands too! And attached to those handy hands are arms, try putting one of the arms up so she's pointing straight forward, then put one of the half sections in front of her so her arm keeps it from pulling a super spy move on you and slipping back into the section your working with!

Next, separate out a small section of hair from the front of the head,

Then separate that into 3 sections. So we all know how to braid and French braid right? We all carry this knowledge with us, correct? Yay! Awesome! Coolest of cool beans! Now, take all that knowledge of braiding and French braiding..... And throw it out the window, because this is going to mess with every ounce of muscle memory you have from doing those. So just take those memories out and throw them away (well, maybe not throw them away, I'm sure at some point you'll need them, just not right now. Perhaps instead place them in a convenient lock top container until you're done with this hairstyle). Why is this going to mess with your head and muscle memory so much you may be wondering? Well, because this process requires you to actually braid.... In REVERSE. Now I know what you're all thinking, "Katie, that makes about as much sense as dipping pickles in ketchup, WHAT THE HECK ARE YOU TALKING ABOUT?!" fear not my friends! For I shall explain.

Take the right section of the hair (or section closest to top of head), but instead of crossing it over the top of the center section like we'd normally do when braiding, you're going to cross it UNDER the center section.

See the cross under there? Kinda get what we're going to be doing with this? Epic! You're doing amazing! :D

Now take the left section, and cross it under the center.

Alrighty it's time to pick up some more hair! Pick up a small section of hair from above the right section (you can use the hair pick here if you'd like) and add that to the right section.

Then, take that combined section and cross it under center.

Next, take a small section from the edge of the wig and combine it with left.

Cross the now combined leftie under the center section.

Ah yes, the sweet smell of tormented muscle memory, it will be worth it though I promise! Continue repeating this process of picking up hair, combining, and crossing under the center until you reach about halfway down your doll's ear. Try to keep the sections as smooth as possible for a clean look.

At this point you should only have a little bit of hair left.

Divide this last bunch of hair equally among your 3 sections, then continue braiding in reverse (MWAHAHAH! THAT'S RIGHT! KEEP YOUR HANDS OFF YOUR LOCK TOP CONTAINER OF BRAIDING MEMORIES, I'M NOT DONE TORTURING YOU YET! >:))

Once you finish Dutch braiding, tie the hair off with a hair band.

Ladies and gentleman, there you have it!

Repeat this whole process for the other side to complete :)

Congratulations! You've now got a new hairstyle to add to your hairstyling tool belt!
(You may now open that lock top container)


I really REALLY hope you guys enjoyed this hairstyle! Sorry if I talked a ton in the midst of the tutorial, I got a bit over excitement to talk and write posts for y'all again XD If you guys have any questions definitely feel free to ask! Keep an eye out for the posts ahead and if you'd like to join the ADU Newsletter for email notifications to new posts, fun facts, behind the scenes, and more, you can join by signing up to follow by email located in the sidebar! Thanks so very much for reading everyone! Lots of love and I hope you have an amazing day!
-Katie :)


That was hilarious! I'm not sure if you intended it, but that was the funniest hairstyle post I've ever seen!!! (I was literally giggling to myself while reading it. XD) And yes, Dutch braids are WAAAYYY cooler than French braids!
ReplyDelete(I did try to comment on the Into the Unknown post, but apparently it didn't work, so I'm crossing my fingers that this goes through! That post was simply STUNNING, by the way. )
-ForestPoodle88
YAY!!! Thank you so very much! I'm so SO thrilled you enjoyed it! :D it wasn't originally ment to be as ridiculous as it turned out to be, but my weirdness kinda just found it's way in XD I'm so glad I could make you laugh today! And I definitely agree, Dutch Braids for the win!!!
Delete(Oh no!! I'm so very sorry that happened, I don't think I ever received your comment... Blogger has been going through this weird update thing and it's been causing a lot of issues, so that might have been the problem, but hopefully it's all worked out now and I'll get to see more of your comments in the future! :) So sorry again for any inconvenience! And thank you so much!! That post was a challenging one so it truly brings such a huge smile to my face to hear you enjoyed it!)
-Katie :)
I liked that you "talked a ton in the midst of the tutorial" - sometimes tutorials can be so boring to write, so definitely something I will have to try! I don't know if I have read other hairstyle posts, but either way this is by far the most interesting! And Dutch braids ARE the best.
ReplyDelete~ FlamyFox13
Wow thanks so much FlamyFox13!! That seriously means so much, I was really worried that I was distracting or causing too much confusion with my random bits of "not really instruction anymore" dialogue (I'm really shy in person but I also really like talking to people so I guess it just kinda spills out randomly, in this case, my hairstyle post) XD it means the world that you enjoyed this post so much and is really such a huge encouragement for me to keep posting :D and I definitely agree, nothing tops Dutch braids!
Delete-Katie :)
Great tutorial! One time I decided that a french braid would look better upside down, without knowing that was an actual thing...XD.
ReplyDeleteThank you so much Diamond! Oh wow lol!! That's so funny that you were doing Dutch braids without even knowing it, never even accord to me to try braiding upside down until after I learned this XD
Delete-Katie :)