Crafting With Avery - How to make doll cameras
☆


Hello everyone! It's me, the queen of crafting here to show you how to make.....

Cameras!

You might remember theses from our "Kit's Photography Catastrophe" photo story. I'll be giving you a step by step guide on how to make them.

First I'll be showing you how to make the modern camera, this is based off of a camera from American Girl Ideas which I modified so I could use what I had. Guys, this site is an 18" doll lover's dream. If you've never been on there, Please go visit it, it's awesome! For this craft you'll need...

Regular or mini popsicle sticks,

buttons,
a nice big piece of paper,

just a little bit of white paper,

scissors,

and a hot glue gun.

You will also need a pencil,

a ruler,

and depending on which kind of popsicle stick your using, you may need a razor blade. *NOTE, PLEASE ASK AN ADULT BEFORE YOU USE A RAZOR BLADE!* If you're not allowed to use a razor blade than you can use mini popsicle sticks.

Now let's get started! If your using regular popsicle sticks then you'll need to cut them down to size. First score each end of the popsicle stick with the razor blade, be very careful when doing this. After scoring it a few times it should just break off, but if it doesn't, just score it a few more times.

After you get both ends off then you will score it in the middle until it easily breaks in half.

I'm not going to lie to you guys, this part can be a pain. So if you have mini popsicle sticks, use them and just skip over the part of me cutting them.

Ok now I have all my popsicle sticks cut and ready to go. I cut 7 popsicle sticks for this project but if you are using mini ones then you'll probably need about 14.

Now you can start gluing! Just stack and glue until you've glued all your popsicle sticks.

Once you finish your pop stack (And yes I did just call it a pop stack) should look like this.

Next step we are going to cover the pop stack with paper. Lay the pop stack down on it's side so that the bottom of the stack will line up with the edge of the paper. Then trace a line at the top of the stack.

Then line up the ruler with the line you made a few minutes ago. Now finish the line by going all the way across the paper.

Cut out the strip of paper and glue the side of the stack to the edge of the paper.

Now glue and fold until all four sides are covered with paper.

Cut off any paper that may be left after you've taped the stack.

Trace the top and bottom of the camera, then cut out them out and glue them to the top and bottom. Your camera should look like this.

Now it's time for buttons! For the lens try to find a button that has a wide ridge and dips down in the middle. Then glue it to the front of the camera.

I recommend using a shank button to put in the dip of the first button because the holes are on the bottom so when glued down you won't see holes.

Now glue a button on the top right corner, if you'd like to you can add a rhinestone on top of this button to add height.

Glue a little white rectangle to the left corner and you're done!

Now it's time to make Kit's vintage camera! You will need...

A small box,

black and white craft foam with a sticky back,

contact paper, but if you don't have contact paper you can use tape.

You'll need to grab your scissors again,

and your pencil.

Now your ready to start making Kit's camera! First step is to trace both sides onto the foam. Don't trace the front, back, top, and bottom yet, I'll show you why in a minute.

Now go ahead and put your pieces on the sides. Ok guys are you ready to see the awfulness of what happened when Katie cut out all the pieces and started slapping them on like a happy raccoon?

This happens... Look at it!!! You can see.... THE BOX!!!! ( You may now start screaming in terror)

It's....So....Bad!!!

NO! SUCH A CRAFTING CATASTROPHE!!! LOOK AWAY! LOOK AWAY!

Do not be like Katie guys, because that's just sad. Follow these steps and you'll be a crafting super star!

Ok so what Katie did was that she traced and cut out all the pieces before putting them on. So we put the side pieces on the box and now we're going to trace the front and back of the box so that the pieces will be slightly bigger than if we do what Katie did.

So now you can go ahead and put the front and back pieces on. Next we'll trace the top and bottom and stick those on as well.

And there you have it!

And you can't see the box!

Now it's time for the lens, you'll need to cut out 6 one inch squares from your craft foam. The squares don't have to be exact here, you can just wing it.

Stick 5 of your squares on top of each other. Don't use the 6th one yet!

Go ahead and stick your lens on the front of your camera.

So go ahead and grab your 6th square and cut it into a circle.

Now set your circle on the contact paper and cut around it.

Put the contact paper on the circle and put the circle on the lens.

Use your little piece of white craft foam into a little rectangle and a little circle. Put the rectangle on the front left side and the circle on the left side and you're done!

So there you have it!

I hope you have fun making your dolls their very own cameras! If you have any questions, feel free to ask!

Good bye for now!
Avery :D
-----------------------------------------------------------


Woo Hoo! Your a great crafter Katie! I always have a tough time coming up with craft ideas.
ReplyDeleteAvery is ARORABLE. The cameras came out very nice. Keep up the good work!
-Jewel
http://www.dollnotebook.com/blogs/
Awwww! Thanks Jewel! Yeah crafts can be hard to think up, just keep at it and I know you'll think up something great :) Thank you so much!
DeleteKatie :)
Yay! I'l have to make some for my dolls! I love the mint coloured one! Great job Avery!
ReplyDelete~ The Human
http://lifeofafarmdoll.blogspot.ca/
Yay! I'm so glad :) That's my favorite one too. Thank you so much!
DeleteAvery :D
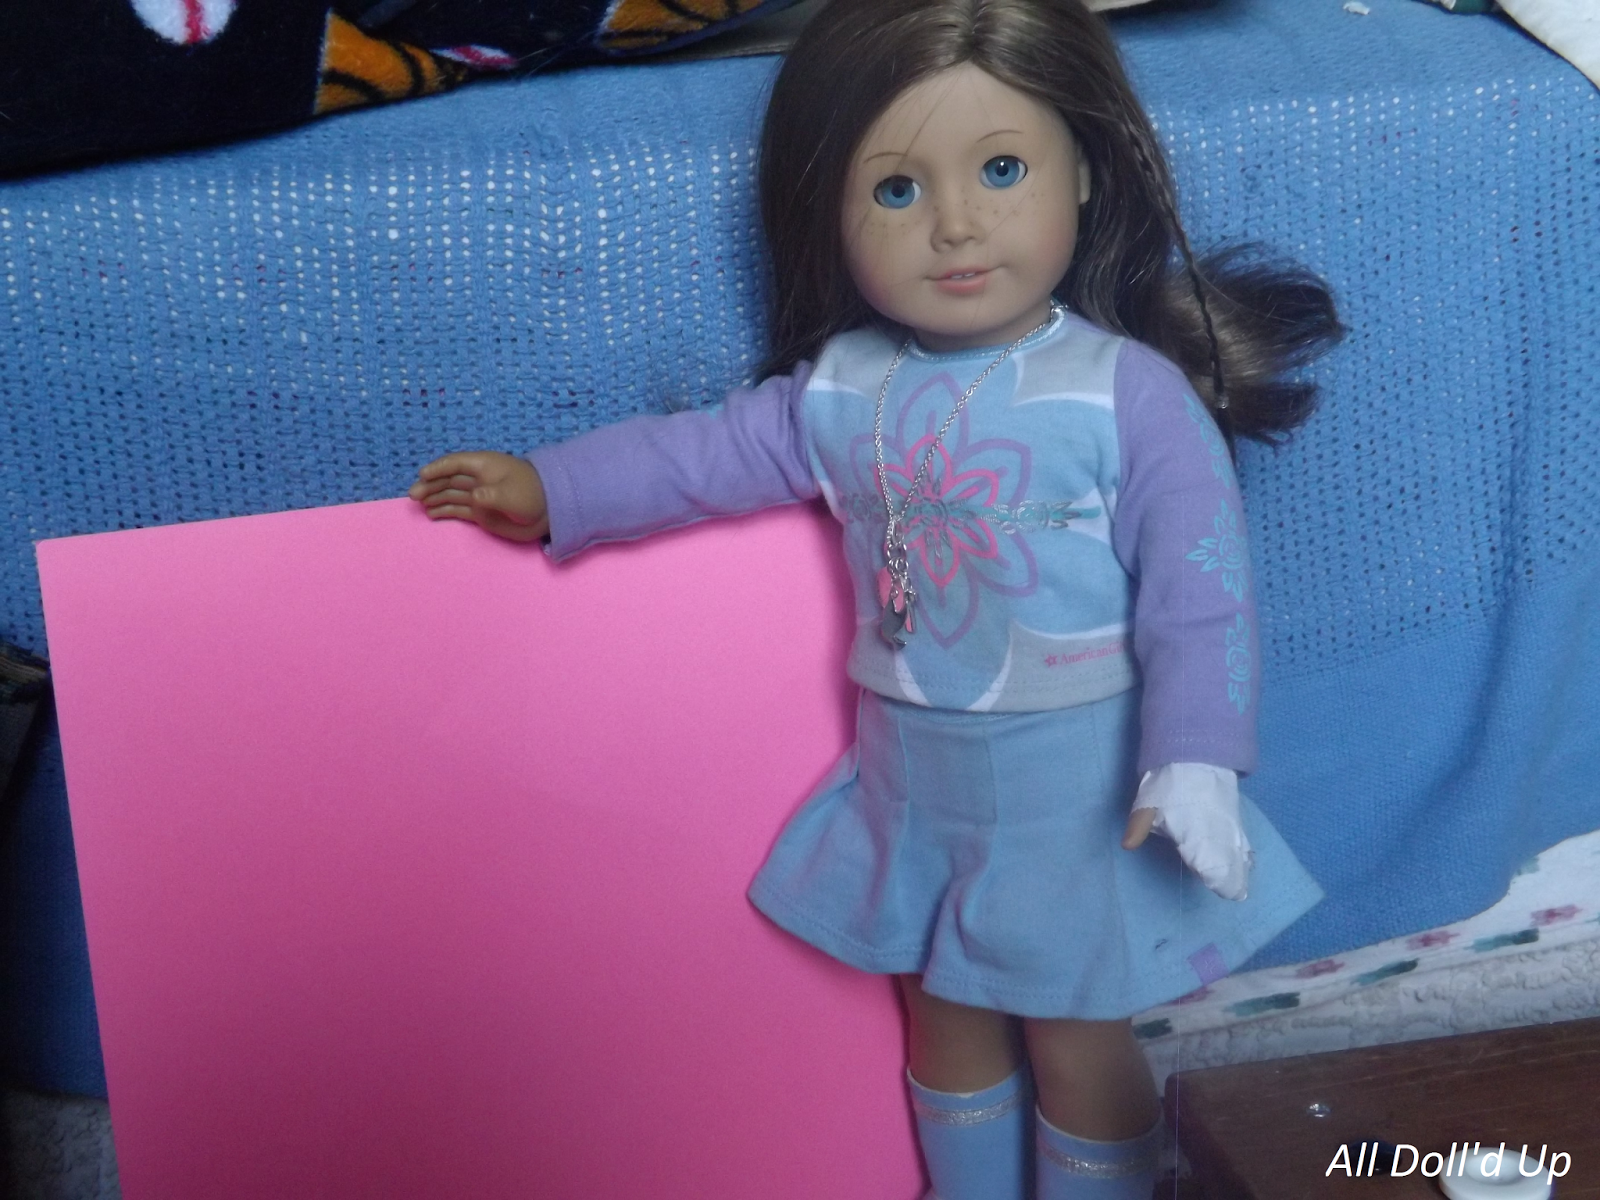
So why is Avery's hand bandaged? Or is that for another post? ;)
ReplyDelete~ The Human
http://lifeofafarmdoll.blogspot.ca/
I bought Avery off Ebay... I'll have more on that soon ;)
ReplyDelete-Katie :)
Those are SOOO cute! They look real!
ReplyDeleteThank you so much Anna! I'm glad you like them :)
Delete-Avery :D
What an adorable camera! I love this craft, great job Avery!
ReplyDelete~Sam <3
Thanks Sam! I'm glad you like them!
Delete- Avery :D